

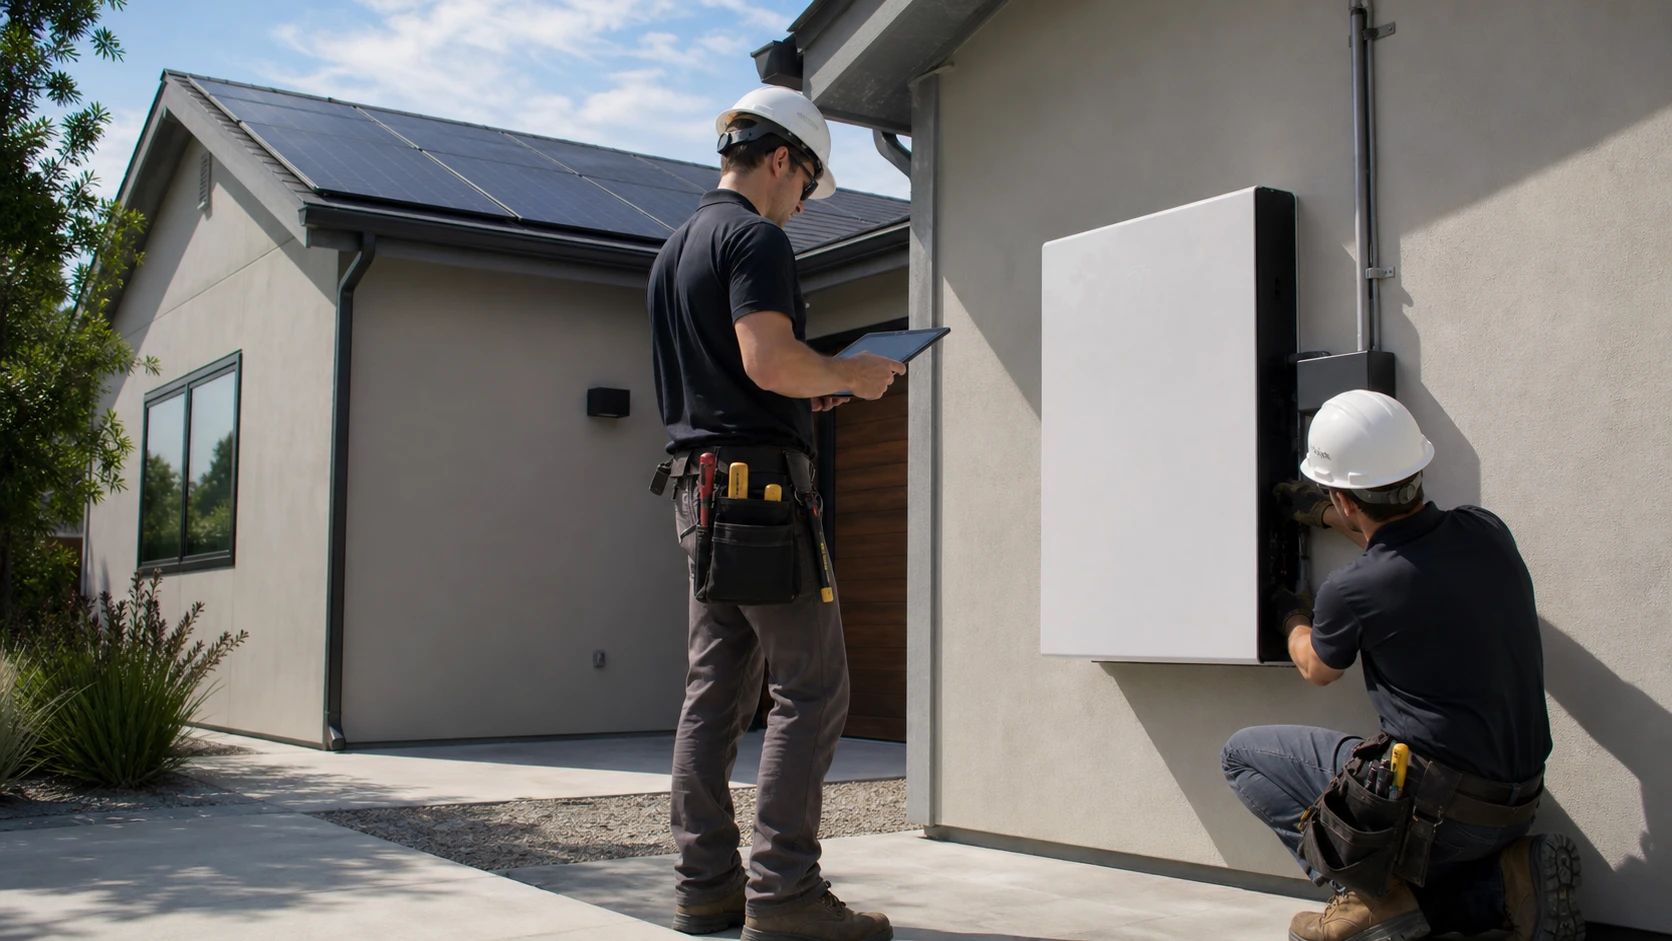
Once your energy storage system has been designed and the installation has been scheduled, it’s natural to have questions about what the process will be like.
While every project is unique and may vary depending on the home’s characteristics and the selected system, most installations follow a series of general steps to help ensure everything is installed correctly.
Understanding what to expect can help you feel more prepared and give you a better understanding of the installation process.
1. Initial Project Review
Before the installation begins, the technical team performs a general review to confirm that the system matches the home’s energy needs and that everything is ready to move forward.
They also verify that all required equipment and components are available for the installation.
This step helps ensure the project proceeds in an organized and efficient manner.
2. Preparing the Installation Area
Once the initial review is complete, the installation area is prepared.
Depending on the home’s layout, the team confirms that the selected location meets the conditions needed for a safe and efficient installation.
Proper preparation helps make the rest of the installation process run smoothly.
3. Installing the System Components
During this stage, the different components that make up the energy storage system are installed.
The number of components and the final configuration depend on the design created for each home.
All equipment is installed according to the manufacturer’s recommendations and applicable electrical standards.
4. Integrating the System with the Home’s Electrical Infrastructure
After the equipment has been installed, the necessary electrical connections are made to integrate the system with the home’s electrical infrastructure.
If the property already has a solar energy system, it may also be connected so both systems can work together.
The goal is to ensure that all components operate as one integrated energy system.
5. System Configuration
Once the physical installation is complete, the system is configured according to the home’s specific energy needs.
This may include setting operating parameters and configuring how the energy storage system will function within the property.
The final setup depends on the goals established during the system design process.
6. System Verification
Before the installation is completed, the system is inspected to verify that all components are operating correctly.
These checks help confirm that the installation has been completed properly and that the system is ready for operation.
Verification is an important part of delivering a reliable installation.
7. Homeowner Orientation
Once the verification process is complete, the homeowner receives a general overview of how the system operates.
This may include an introduction to the available monitoring tools and answers to common questions about the system’s day-to-day operation.
Understanding how the system works helps homeowners get the most from their investment from day one.
A Process Designed for a Successful Installation
Installing an energy storage system involves much more than simply adding new equipment to a home.
It is a structured process that includes planning, installation, configuration, and verification to help ensure the system operates safely and efficiently.
Each stage plays an important role in preparing the system for long-term performance.
Conclusion
Although every installation is unique, the overall objective remains the same: to integrate an energy storage system safely, efficiently, and according to the specific needs of the home.
Understanding the general stages of the installation process helps homeowners know what to expect and feel more confident throughout the project.